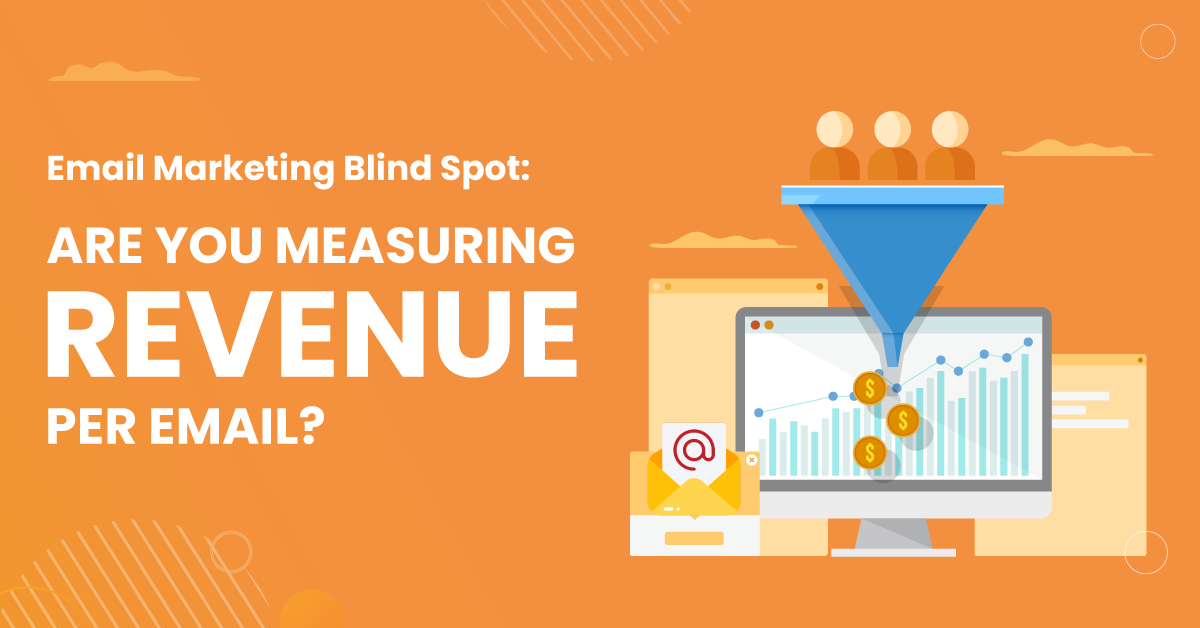
Introduction
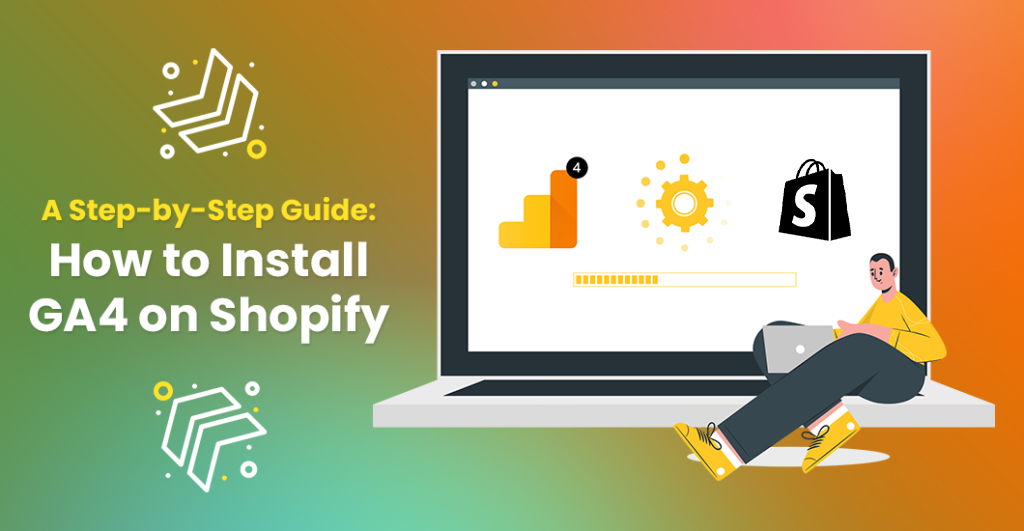
In the digital age, data-driven insights are crucial for the success of any online business. Google Analytics 4 (GA4) is a powerful analytics platform that offers enhanced tracking and reporting capabilities for businesses. If you’re running a Shopify store, integrating GA4 can provide you with valuable data and insights to optimize your online presence. This step-by-step guide will walk you through the process of installing GA4 on your Shopify store, along with customizing settings and making the most of GA4’s features.
What is Google Analytics 4 (GA4)?
Google Analytics 4, also known as GA4, is the latest iteration of the Google Analytics platform. It is designed to provide a more comprehensive and holistic view of user behavior across multiple devices and platforms. GA4 offers advanced tracking and measurement capabilities, allowing businesses to gain deeper insights into user interactions and conversion events. As Universal Analytics is retiring on 1st July, it is crucial to consider upgrading to GA4 and exploring the available options. By transitioning to GA4, businesses can ensure continuity in tracking and analysis, keeping up with the evolving digital landscape while unlocking the enhanced features and functionalities offered by GA4.
Why Install GA4 on Your Shopify Store?
Integrating GA4 with your Shopify store can bring several benefits:
- Enhanced tracking: GA4 offers improved tracking accuracy and flexibility allowing you to capture a wide range of user interactions.
- Cross-device insights: GA4 provides a unified view of user behavior across devices, enabling you to understand how users engage with your store across different platforms.
- Enhanced ecommerce tracking: GA4 includes built-in support for enhanced ecommerce tracking, allowing you to monitor and analyze key metrics related to your online sales and conversions.
- Customization options: GA4 offers various customization options, such as defining goals, events, and utilizing custom dimensions and metrics, enabling you to tailor analytics to your specific business needs.
Step-by-Step Guide: Installing GA4 on Shopify
Step 1: Creating a Google Analytics 4 Property
To get started, create a new GA4 property in your Google Analytics account. Follow the instructions provided by Google to set up the property and configure the necessary settings. After creating property, you need to create a web data stream.
Step 2: Obtaining Your GA4 Measurement ID
Once you’ve created the GA4 property, obtain your Measurement ID. This ID is unique to your property and will be used to connect GA4 with your Shopify store.
Step 3: Adding GA4 Measurement ID
During the setup process for your GA4 tags, if you haven’t installed the Google & YouTube channel, you will be prompted to install it. Connecting to the Google Merchant Center is not necessary to complete your GA4 tags setup.

Follow these steps to set up your GA4 tags on Shopify:
- Go to Online store > Preferences in your Shopify admin.
- In the Google Analytics section, click on “Manage pixel here.”
- Connect your Google account by clicking on “Connect your Google account.”
- Select the Tag ID for the GA4 property that you want to connect to your Shopify store.
- Click on “Connect your Google Analytics 4 property.”
- Once you have set up Google Analytics 4 tags, certain ecommerce events will be automatically tracked.
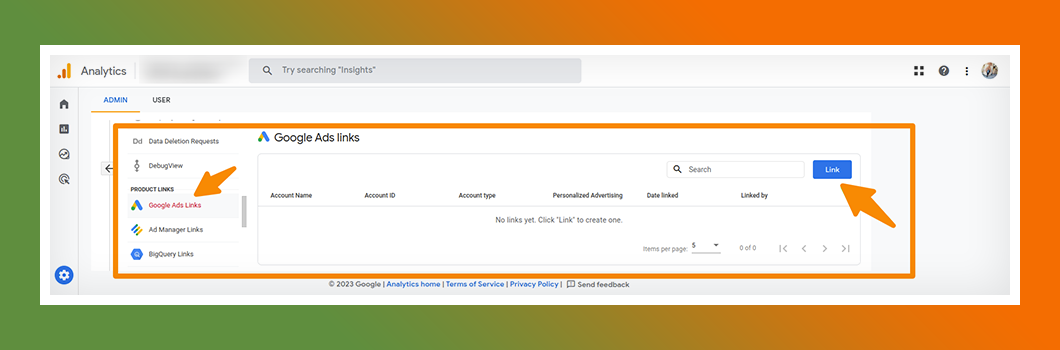
Step 4: Connect your Google Analytics account with Google Ads Account
To connect your Google Analytics account with your Google Ads account, you can link a Google Analytics property to your Google Ads account. This linking enables you to analyze customer activity in your store, providing valuable insights for measuring conversion actions and creating audiences.
Customizing GA4 Settings for Your Shopify Store
1. Ecommerce Report Overview
To access your eCommerce purchase data in Google Analytics, follow these steps:
- Go to your Google Analytics account and navigate to the Reports section.
- Select Monetization and then click on E-commerce purchases.
- To expand the report and view more details, click on the “<” arrow located at the bottom-right corner to minimize the reports list pane.
- As you scroll down the report, you’ll find a table displaying various eCommerce information related to the products available in your store.
- The table includes data on product views, additions to the basket, and actual purchases. Additionally, you can find metrics such as the purchase-to-view rate, which is akin to a conversion rate when you have correctly implemented Google Analytics 4 eCommerce tracking on your website.
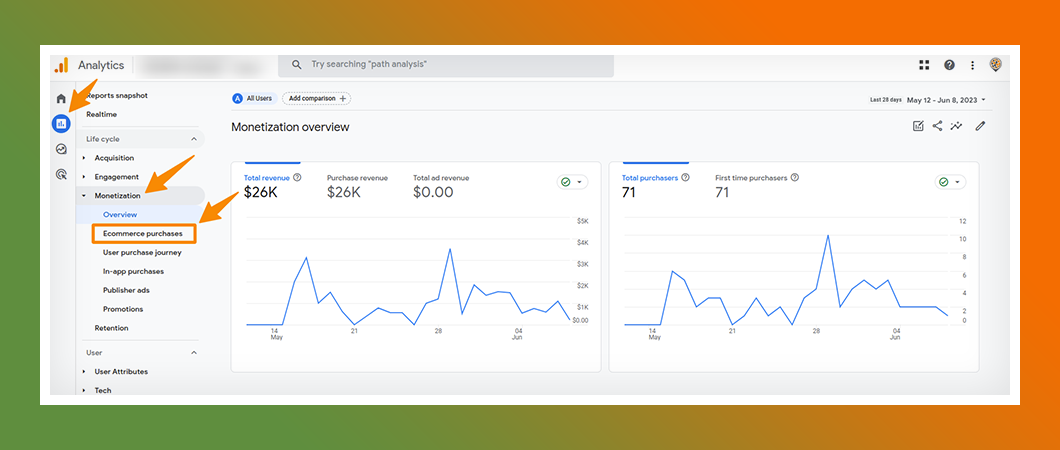
By analyzing this data, you can gain insights into how users interact with your products and make informed decisions to optimize your eCommerce performance.
2. Defining Goals and Events
Utilize GA4’s goal and event tracking capabilities to track key actions on your Shopify store, such as add to cart, checkout, and purchase events. Define relevant goals and events to measure and analyze user interactions and conversions effectively.
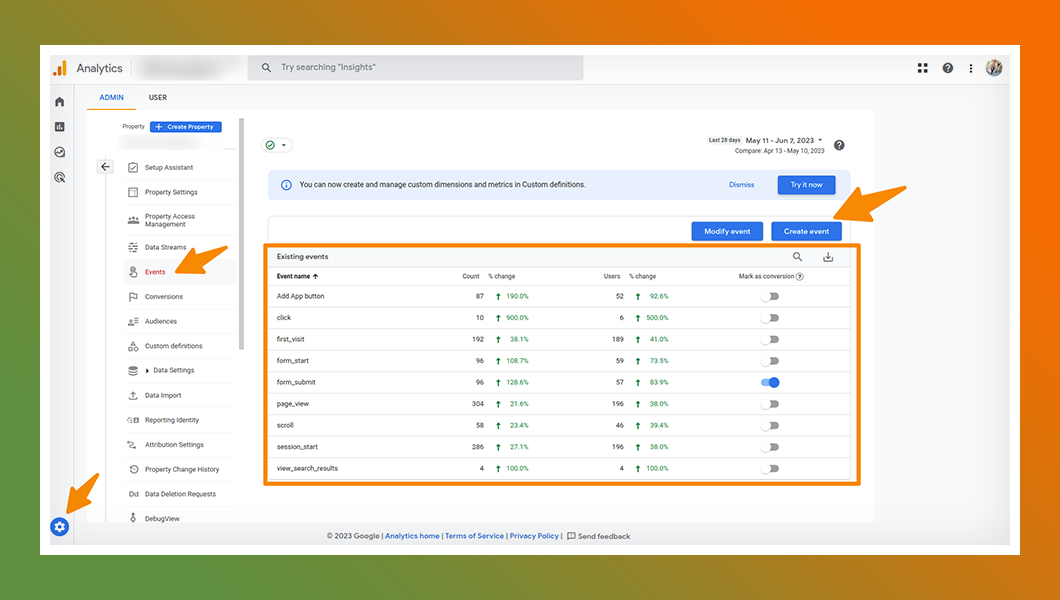
In GA4, the process of setting up goals based on a limited set of conversion criteria is no longer necessary. GA4 now automatically designates four collected mobile app events as conversions. Furthermore, you have the option to mark up to 30 additional app or web events as conversions (50 if you are using Google Analytics 360). This enhanced capability provides you with greater flexibility and precision in measuring your significant user activities.
Follow these steps to create a goal and custom event in Google Analytics 4:
- Go to “All Events” in the navigation menu.
- Select your preferred GA4 property.
- Click on “Events.”
- Click on “Create Event.”
- A new window will appear. Click on “Create.”
- Provide a name for your event.
- Under Matching Conditions, choose the parameter from the dropdown. For a destination goal, select the “page_location” parameter.
- Select the operator. In this case, we will use “Contains (ignore case).”
- Enter the value, which is the text at the end of your destination URL. For example, if your URL ends with “thanks,” enter “thanks” as the value.
- Click on “Create” in the upper right-hand corner.
- Your goals will now be listed under Custom Events.
Note: The custom event will not appear as an existing event until it is triggered. Once it is triggered, you can mark it as a conversion.
3. Utilizing Custom Dimensions and Metrics
Take advantage of GA4’s custom dimensions and metrics feature to track additional data specific to your business needs. This allows you to segment and analyze user behavior based on custom parameters.
4. Enabling Cross-Domain Tracking
If you have multiple domains or subdomains associated with your Shopify store, enable cross-domain tracking in GA4 to capture user interactions seamlessly across different domains.
Making the Most of GA4 Data and Reports
1. Understanding GA4 Reports
Familiarize yourself with the various reports available in GA4, such as the Overview Report, User Acquisition Report, and Engagement Report. These reports provide valuable insights into user behavior, acquisition channels, and engagement metrics.
2. Analyzing Audience Insights
Utilize GA4’s audience reports to gain a deeper understanding of your website visitors. Explore demographic data, user interests, and behavior insights to tailor your marketing strategies and improve targeting.
3. Exploring E-commerce Analytics
Dive into GA4’s e-commerce reports to analyze your online sales performance. Track revenue, conversion rates, and product performance to identify trends, optimize your product offerings, and improve the customer shopping experience.
4. Leveraging Custom Reports and Dashboards
GA4 allows you to create custom reports and dashboards tailored to your specific business needs. Take advantage of this feature to monitor key metrics, track campaign performance, and generate insightful visualizations.
Best Practices for GA4 Implementation on Shopify
1. Regularly Review and Optimize Tracking
Regularly review your GA4 implementation to ensure accurate data collection and tracking. Keep an eye out for any changes in your Shopify store that might affect the tracking code, such as theme updates or new plugins.
2. Utilize UTM Parameters for Campaign Tracking
Use UTM parameters in your marketing campaigns to track the effectiveness of different channels and campaigns in GA4. This will enable you to measure the ROI of your marketing efforts and optimize your strategies accordingly.
3. Integrate GA4 with Other Marketing Tools
Integrate GA4 with other marketing tools such as Google Ads and Google Optimize to unlock additional features and insights. This integration allows you to leverage data from different platforms to make data-driven decisions.
4. Stay Updated with GA4 Features and Updates
GA4 is continuously evolving, with new features and updates being released by Google. Stay updated with these changes by following Google’s announcements, attending webinars, and joining relevant communities. This will ensure you make the most of GA4’s capabilities.
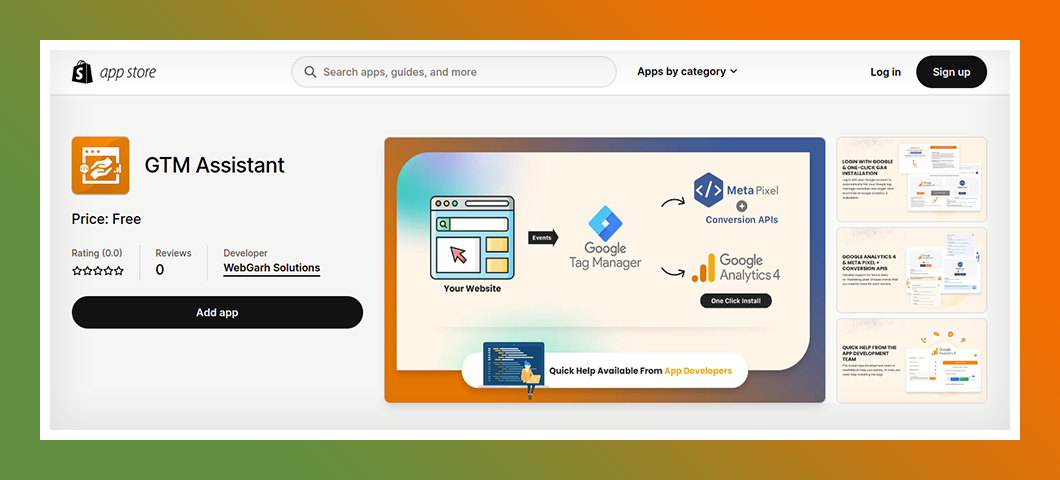
USE “GTM ASSISTANT SHOPIFY APP”
For a convenient installation, consider using the free “GTM Assistant” app. It simplifies the process, providing a full ecommerce setup and default events. If you encounter issues, their support team is available. Maximize the potential of GA4 on your Shopify store, streamline tracking, gain insights, and make informed decisions. Start now with the “GTM Assistant” app and unlock the power of Google Analytics 4 for your business.
Conclusion:
Integrating GA4 into your Shopify store unlocks valuable data and insights to optimize your online business. Follow the step-by-step guide to successfully install GA4 and customize settings. Leverage GA4 reports, make data-driven decisions, and stay updated with features and best practices.